
Flawless Natural Makeup Looks: Step-by-Step Guide for Beginners and Pros
Mastering Blush, Bronzer, and Highlighter
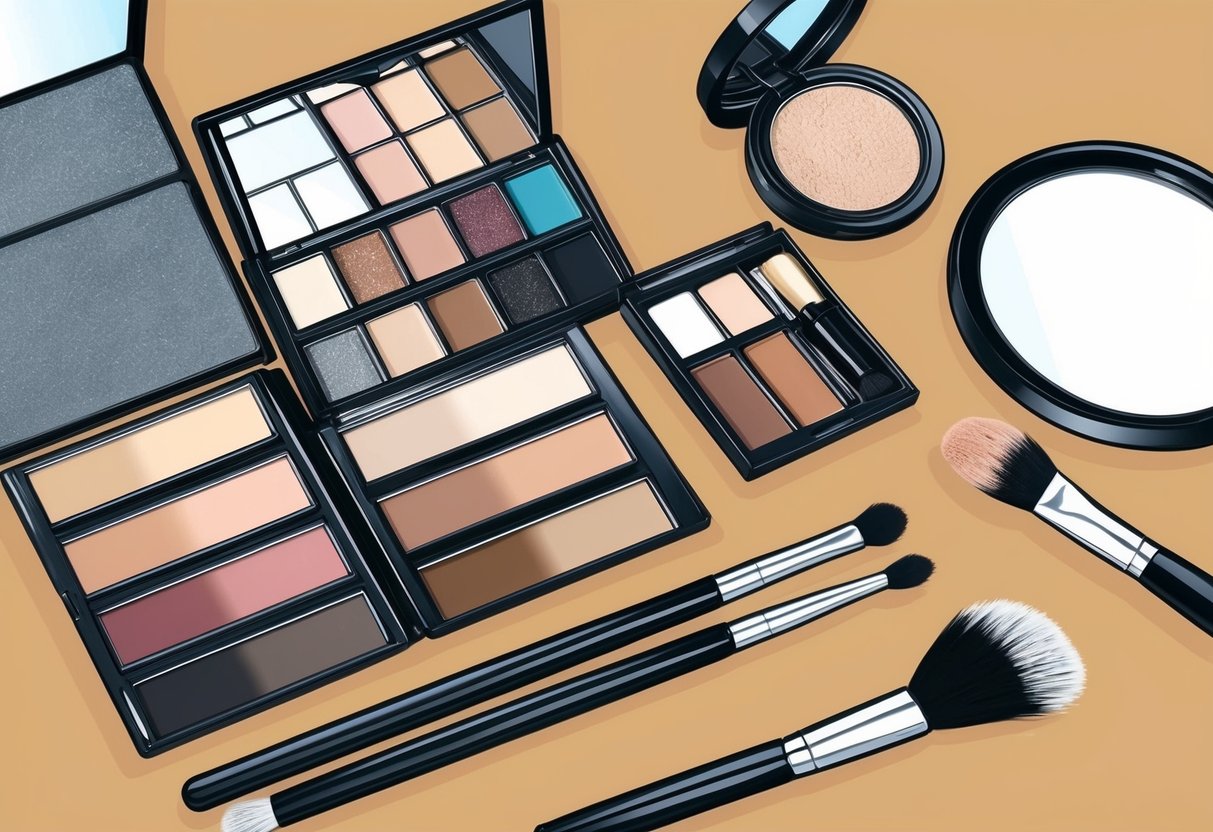
Blush, bronzer, and highlighter can enhance facial features and achieve a balanced, flawless complexion when applied correctly. The choice of formulas and precise application techniques play a crucial role in creating a seamless, natural finish for any skin tone or face shape.
Techniques for a Natural Flush
To create a natural flush with blush, select a shade that mimics the skin’s natural undertone. Cream blush works especially well for dry and normal skin types, blending easily with fingertips or a damp sponge for a skin-like finish.
Powder blush is ideal for oily skin or layering over foundation for added color payoff. Apply blush to the apples of the cheeks, then blend upward toward the temples.
For a youthful look, use gentle circular motions and avoid harsh lines. Layer the product gradually to control intensity; a sheer approach is particularly effective for a barely-there effect.
For extra longevity, set cream blush with a light dusting of translucent powder. Choosing the right finish—matte for subtlety or satin for luminosity—can help achieve the most flattering result for everyday makeup or photos.
Applying and Blending Bronzer
Bronzer is designed to give warmth and subtle definition to the face. Matte bronzer suits contouring and natural looks, while formulas with a hint of shimmer are perfect for sun-kissed radiance.
The correct shade should be only one or two tones darker than the skin’s natural color. Apply bronzer just below the cheekbone, sweeping it along the hairline and jawline for balanced definition.
Use a fluffy, angled brush for smooth, even application. Blend well to eliminate visible edges, using a clean brush to soften any harsh spots.
For step-by-step visuals and placement tips, remember that blending upward and using a light hand helps avoid a muddy or streaky appearance. Always build gradually for a controlled, natural finish.
Essential Eye Makeup for a Natural Look
To create a soft, everyday look that enhances natural features, focusing on well-defined brows, neutral eyeshadow, and subtle mascara and eyeliner is crucial. Using the right tools and shades can help anyone achieve a polished yet understated result.
Defining Brows with Brow Pencil and Gel
Shaping the brows creates a framed and lifted appearance for the entire face. Using a brow pencil that matches the hair color, light strokes should be applied to mimic natural hair growth.
Concentrating on sparse areas while following the natural brow shape keeps the look effortless. After penciling, a tinted or clear brow gel is brushed through to hold hairs in place and add a touch of definition.
Brow gel helps keep the finish looking natural by preventing brows from appearing drawn on. Beginners may find automatic or retractable pencils easiest for precise and controlled application.
When shopping for eyebrow makeup, it is helpful to select formulas labeled as smudge-proof for long wear throughout the day.
Easy Eyeshadow Techniques for Beginners
For a natural effect, neutral shades work best. A soft matte taupe or a light brown is swept over the eyelid as a base.
Adding a slightly deeper shade from a shadow palette into the crease creates subtle contour and depth. To keep the look bright and fresh, a light shimmer or satin finish shadow can be placed at the inner corner and just under the brow bone.
Blending well with a fluffy brush ensures no harsh lines. Brands offer palettes specifically designed for natural styles, such as naked palettes, which group flattering, easy-to-blend neutrals.
For easy-to-follow visuals, see this step-by-step natural eye makeup look.
How to Master Eyeliner and Mascara
For subtle definition, opt for a brown or soft black eyeliner along the upper lash line. Rather than a thick line, keep it thin and close to the lashes.
Smudging lightly with a cotton swab or angled brush softens the effect, preventing any starkness. Mascara opens up the eyes and completes the look.
Apply a single coat of black or dark brown mascara to the top lashes, wiggling the wand from root to tip. Avoid loading the bottom lashes for a cleaner, less dramatic result.
Tubing or lengthening mascaras provide definition without clumping, making them an ideal choice for a flawless, natural finish. For further tips, see this beginner’s eye makeup tutorial.
Concealing Imperfections and Dark Circles
Targeted application techniques can help neutralize discoloration, reduce the look of tired eyes, and make blemishes less visible. Beginners and professionals alike achieve more natural coverage by layering the right products and blending carefully.
Correcting Under-Eye Circles
Dark under-eye circles can be caused by genetics, lack of sleep, or skin tone variations. To effectively conceal them, it’s important to start with a lightweight eye cream to hydrate the area and prevent creasing.
Using a peach or orange-toned color corrector helps to neutralize blue or purple hues beneath the eyes. Apply the corrector in a thin layer, focusing specifically on darker shadows rather than the whole under-eye area.
Layer a creamy concealer, slightly lighter than the skin tone, on top. Tap or blend with a fingertip or a damp makeup sponge for a seamless finish.
Setting the area with a small amount of translucent powder can help prevent creasing and extend wear throughout the day. For more detailed instructions, see this guide on concealing under-eye bags and circles.
Minimizing Redness and Blemishes
Redness and blemishes require a different approach than dark circles. After prepping the skin with a gentle moisturizer, use a green-tinted color corrector to counteract red tones caused by pimples or irritation.
Dot the color corrector directly onto any problem areas and blend gently with a small brush. Next, choose a full-coverage concealer that matches the skin’s undertone.
Apply it with a clean brush or fingertip, pressing into the skin for natural coverage without disturbing the corrector underneath. For stubborn blemishes, lightly layer more concealer as needed, then set with a matte powder to keep the area shine-free.
Work in thin layers to avoid a cakey look and ensure the finish remains natural and smooth. Helpful tips for applying these techniques are available from L’Oréal Paris on concealing dark circles fast.