Beginner’s Guide to Flawless Makeup Application: Step-by-Step Techniques and Tips
Using an Eyeshadow Palette or Shadow Palette
Eyeshadow palettes—also known as shadow palettes—offer a mix of colors and finishes. Beginners should choose palettes with a balanced selection of matte and shimmer shades.
Palettes with both warm and cool tones give more flexibility for different looks. Start by identifying base, transition, and accent shades within the palette.
Many palettes feature an included guide or label shades for their intended use. Use a flat brush for lid shades, a fluffy brush for blending, and a small angled brush for detail work.
Organize the shades in the order you’ll use them, and swatch them on your hand to check pigmentation. The right palette can simplify the process and help users build confidence while exploring new makeup looks.
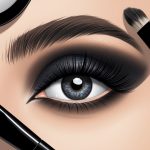
Defining Eyes with Eyeliner
Eyeliner enhances eye shape and adds depth to any eyeshadow look. Beginners often find it easiest to use a pencil eyeliner, as it offers control and is forgiving if mistakes occur.
Black or brown pencil liners are classics for daily wear. To apply, begin at the outer corner of the upper lash line and use short, light strokes to work inward.
For a softer appearance, gently smudge the line with a small brush or fingertip. Those seeking more precision can try a gel or liquid liner once comfortable.
For a subtle enhancement, apply liner only to the upper lid. For a bolder effect, line both the upper and lower lash lines.
Many makeup tutorials for beginners recommend practicing on the back of the hand before moving to the eyelid.
Enhancing Lashes with Mascara
Mascara is essential for making eyes appear larger and more awake. Always start with a clean wand and gently wipe off excess product to prevent clumping.
Hold the mascara wand at the base of the lashes and wiggle it upward through the tips. Apply one to two coats on the upper lashes for natural volume.
To add drama, repeat for extra coats or use a lash-curler before applying. For the lower lashes, use the tip of the wand and a light touch to avoid smudges.
Look for mascaras labeled “volumizing” or “lengthening” depending on your goal. Waterproof mascaras can be helpful for long days or humid conditions, though beginners may find them harder to remove.
Taking time to layer and separate each lash gives a wide-eyed, finished look every time, as also highlighted in many step-by-step makeup tutorials.
Grooming Brows and Finishing Touches
Eyebrow grooming and strategic finishing touches play a major role in pulling a flawless makeup look together. Precise brow shaping, expert use of brow gel, and proper makeup setting can emphasize facial features and ensure long-lasting wear.
Shaping and Filling Eyebrows
Proper eyebrow shaping begins by identifying the natural brow shape and removing stray hairs with tweezers, threading, or waxing. Symmetry and proportion are important for facial balance, so referencing the bridge of the nose and arch placement helps create a flattering look.
Regular trimming using small scissors can enhance neatness. Filling in eyebrows starts with choosing a pencil, powder, or pomade shade that complements the hair color.
Short, light strokes mimic natural hair and create a more realistic finish. Beginners often find that starting at the arch, then blending toward the tail and head of the brow, delivers a softer appearance.
To further refine the brow’s shape, some use a flat concealer brush and a bit of concealer to outline below and above the brows. This sharpens the look and covers any redness from grooming.
For additional step-by-step guidance, readers can explore thorough eyebrow makeup tutorials that explain brow shaping and filling for all face shapes.
Utilizing Brow Gel or Eyebrow Gel
Brow gel, also known as eyebrow gel, helps lock eyebrow hairs in place and adds definition without stiffness. It comes in clear formulas for a natural look or tinted versions for enhanced fullness and color.
Selecting the right product depends on personal preference and brow needs. A spoolie brush or the included wand is used to comb through brows in an upward and outward direction.
Clear gel works well for unruly brows that need subtle hold, while tinted gels deposit pigment for thin or sparse brows. Layering too much product may clump, so applying a light coat and building gradually gives better results.
Those looking for natural, bushy brows may use brow gel as the last step after filling while others apply it before pencil for a textured look. Tips, tricks, and styling ideas for brow gel can be found in in-depth brow tutorials for beginners.
Setting Your Makeup with Setting Spray
Using a quality setting spray extends the wear of makeup by forming a lightweight barrier that minimizes smudging, fading, and transfer. Setting sprays suit various skin types and can be mattifying, hydrating, or luminous, which allows for customization according to preference.
Hold the bottle about 8–12 inches away from the face and mist lightly in an “X” and “T” pattern to cover all areas evenly. Letting the product dry naturally preserves the makeup layers, including foundation, blush, and brow products.
Many makeup artists recommend spritzing setting spray onto a beauty sponge and dabbing it onto targeted areas like the T-zone or brows for extra longevity. Consistent use of setting spray assists in combating humidity, sweat, and environmental factors, resulting in makeup that remains intact for hours, even in challenging conditions.
Creating the Perfect Lip Look
Achieving an attractive and well-defined lip look requires attention to detail and the right techniques. Precision in shaping, color application, and product selection all play critical roles in enhancing the lips and maintaining long-lasting color.
Defining Lips with Lip Liner
Lip liner is used to shape the lips, prevent feathering, and create a clean outline. To start, choose a lip liner that matches the chosen lipstick or is just a shade darker.
Begin at the Cupid’s bow and trace along the natural lip line, moving outward to the corners. If fuller lips are desired, draw slightly outside the lip’s natural boundary, but avoid overextending for the most realistic finish.
Filling in the lips lightly with liner before lipstick can boost staying power. Use a sharpened pencil for precision and smooth strokes to avoid harsh lines.
Smudging the edges gently will help blend the liner for a softer look.
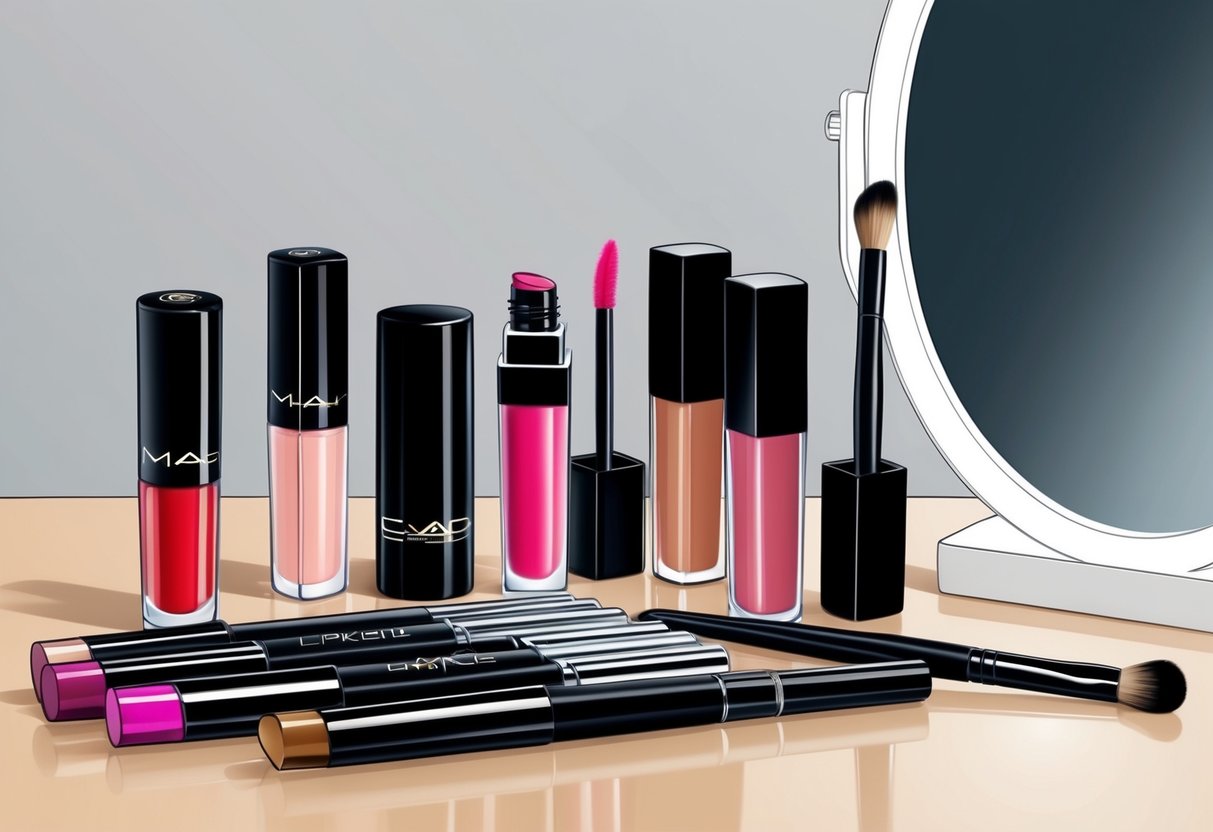
Applying Lipstick and Lip Gloss
After outlining, apply lipstick directly from the tube or with a brush for better control. For even coverage, work from the center of the lips outward, filling in any areas that need more pigment.
Blotting lips with a tissue and applying a second layer helps intensify color and extend wear. If a glossy finish is preferred, dab a layer of lip gloss over lipstick.
Focus on the center of the lips to add dimension and a plumped appearance. Gel- or oil-based glosses ensure a shiny, comfortable texture.
For extra staying power, avoid applying gloss all the way to the lip edges, as this can encourage color to bleed. A touch of clear gloss can add versatility without altering the shade of the lipstick underneath.
Choosing Lip Products for Lasting Color
Selecting the right lip products is vital for a look that endures through the day. Options such as matte liquid lipsticks, highly pigmented bullet lipsticks, and long-wearing formulas can help maintain color.
Matte and stain finishes generally offer longer wear but may require extra hydration, so using a lip balm underneath prevents dryness. If comfort is a priority, cream lipsticks provide moisture, but may need more frequent touch-ups.
For those seeking shine without stickiness, opt for non-tacky lip glosses. Look for ingredients like vitamin E or hyaluronic acid for added hydration.
Storing a compact lip brush and the selected products in a makeup kit allows for prompt on-the-go reapplication. For additional step-by-step tips, beginners can check out this in-depth makeup tutorial for more guidance.